Painting Timber Sash Windows: Hints & Tips
Keeping on top of painting your timber sash windows is the best way to prolong their life. But it’s not just about protecting the wood beneath the painted surface – it’s also about ensuring your windows look smart and well cared for. You may be tempted to call in experts to do the DIY for you – but this is a job you could tackle yourself. So, if you’ve had renovations done on your windows or if the paintwork is starting to peel, we’ve put together some hints and tips.
1. Before you start painting your timber sash windows
If your windows have been renovated or made by Ventrolla, you will have the Ventrolla Perimeter Sealing System (VPSS) installed in your windows. This Weatherfin Pile (or draught proofing strip) must be protected when you paint your windows.
If you don’t have our innovative Sash Removal System (SRS), you will need to use masking tape to prevent the Weatherfin Pile from being contaminated. If you do have the SRS, the Weatherfin Pile sits in routered out u-sections within your sashes, and should easily slide out of this u-section once you’ve dismantled the sash window and removed the sashes internally.
TIP – Masking tape can also be placed over any draught-proofing or Weatherfin Pile, protecting it from the paint.
2. Remove the old paint
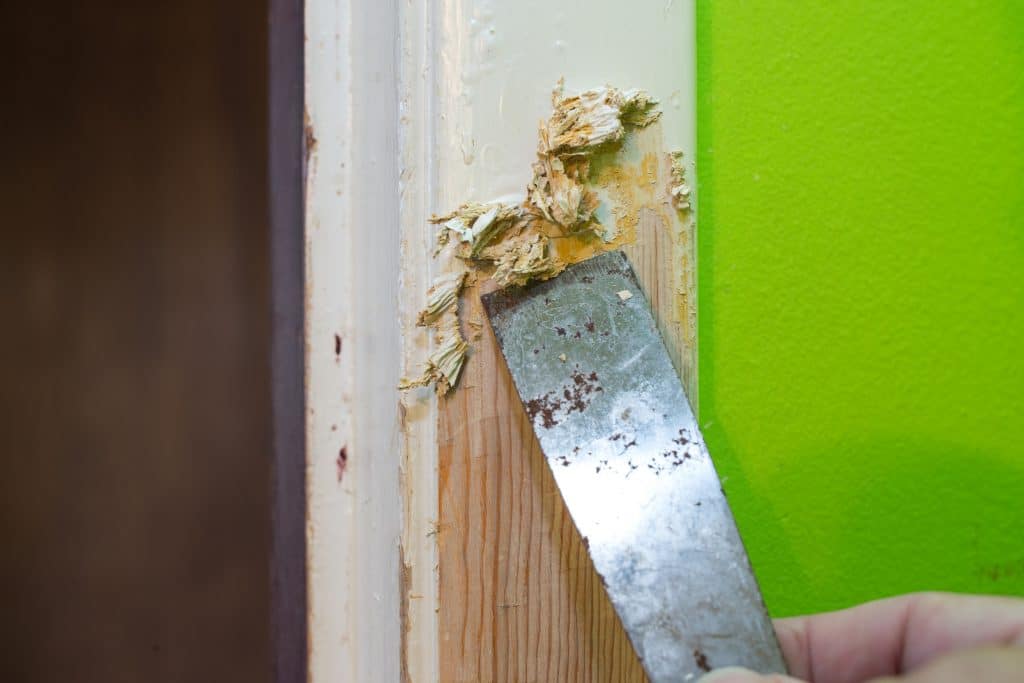
Should you wish to re-paint your whole window, you may need to remove the old paint from the sashes and frame. It’s important to presume this paint has lead content and wear a suitable protective dust mask to protect yourself.
TIP – If using a heat gun to remove paint, please take special care not to expose components of Ventrolla’s Perimeter Sealing System to excessive heat.

3. Sand the timber
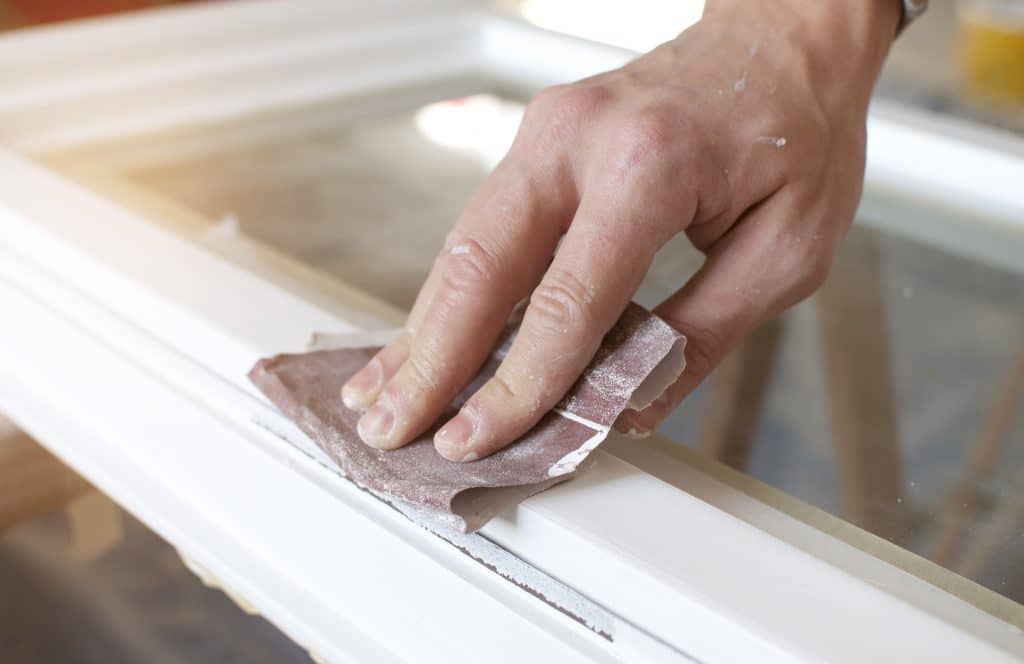
Brush away any dust after sanding the window frame and wipe the frame down with a moist sponge – no soap, just water – to ensure a clean line when painting.
TIP – Use a medium-grade sandpaper for sanding your timber windows.

4. Mask the glazing
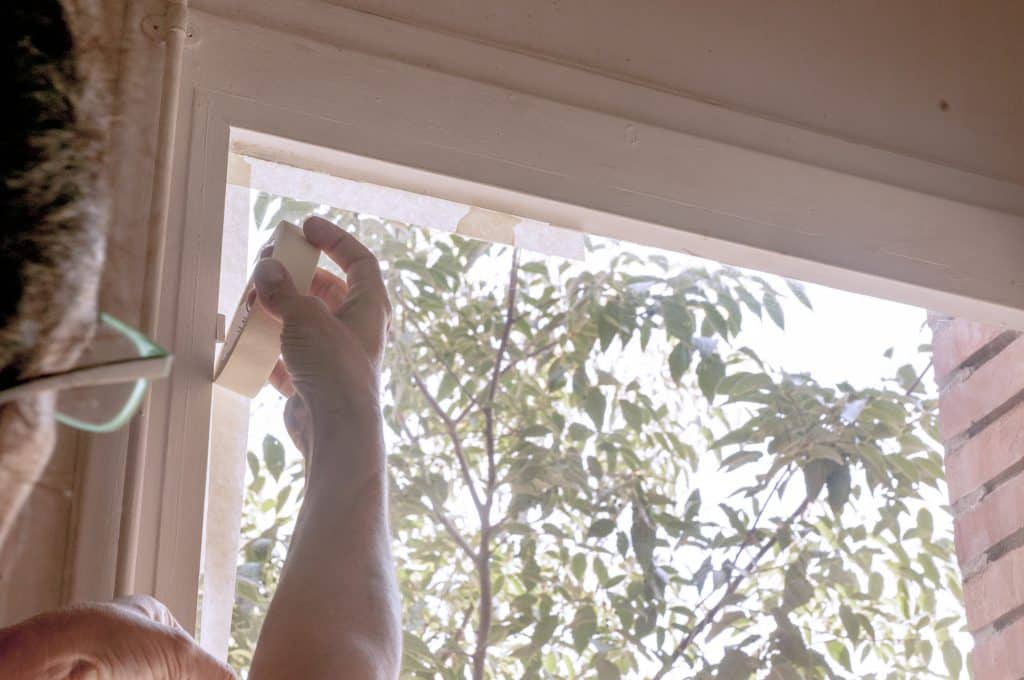
It’s wise to protect the sash window glass from paint, so you don’t have to spend time removing it after the job is complete. You can do this by placing masking tape over the glass pane – but leave around 1mm of the glass around the edge – see the next step for details.
TIP – Leaving around a 1mm of the glass exposed around the edge enables you to overlap your final coat of paint onto the glass, to create a weather tight seal.

5. Prime & paint your windows
When painting your sash window, apply a good quality primer, top coat and gloss to ensure a good finish and well-protected timber. At Ventrolla, we use a Teknos primer. Be careful not to get paint on the glazing, except on the final coat which should overlap onto the glass by about 1mm (to protect the seal).
Lightly sand the painted timber between coats to ensure a smooth finish and make sure all elements of the sash window are dry before installing the sashes back into the frame, to avoid sticking or friction.
TIP – Painting may be easier with a ‘sash trim brush’ – these are slightly angled making it easier to reach into 90-degree corners and tight space.
Can Ventrolla help?
We’ve created a step-by-step guide to painting and maintaining your sash windows here.
At Ventrolla, we have many patented products and services that we’ve created to help ease the stress of painting your timber sash windows. Contact our helpful team online here or by calling 0800 378 278 and ask about our Sash Removal System (SRS) and Ventrolla Perimeter Sealing System (VPSS).
